
From Clay to Masterpiece: Understanding the Pottery Firing Process
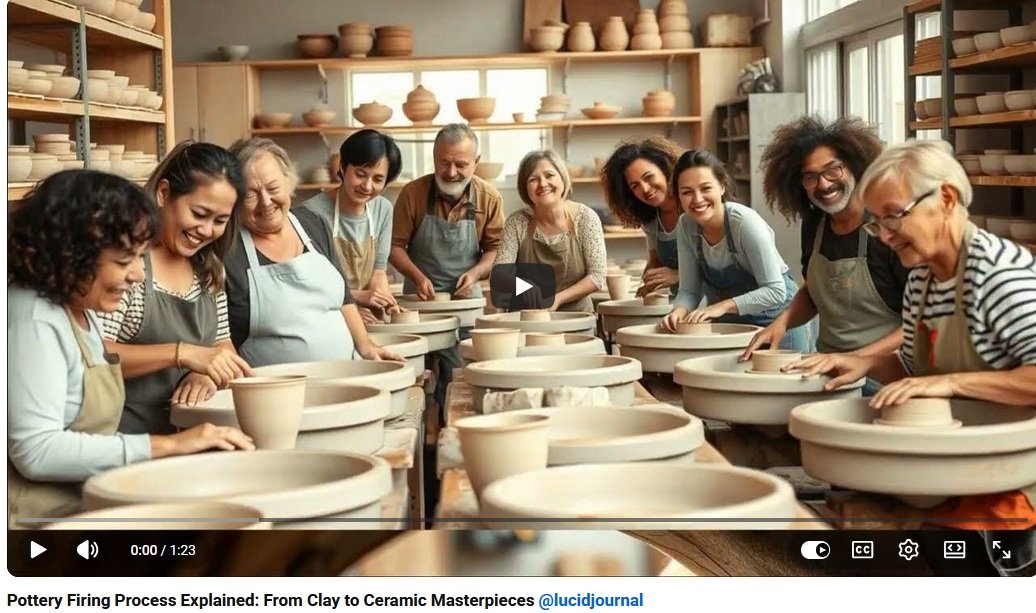
Few moments in pottery are as exciting as opening a kiln after a firing. What began as soft clay has been transformed into a durable ceramic piece capable of lasting for generations. The pottery firing process is where science, craftsmanship, and art come together. Understanding how firing works helps ceramic artists create stronger, more beautiful pottery while avoiding common mistakes.
Whether you are a beginner exploring pottery for the first time or an experienced ceramic artist seeking better results, understanding the firing process is essential. Every successful mug, bowl, vase, sculpture, or decorative ceramic piece depends on proper kiln firing.
What Is the Pottery Firing Process?
The pottery firing process uses a kiln to heat clay to extremely high temperatures. During firing, physical and chemical changes occur within the clay body. Water is removed, minerals fuse together, and the clay permanently hardens into ceramic material.
Without firing, clay remains fragile and can easily dissolve in water. The kiln transforms clay into a strong, lasting material suitable for art, decoration, and practical use.
Why Pottery Firing Is Important
Firing is one of the most critical stages of pottery making because it:
- Hardens clay permanently
- Increases durability
- Makes pottery water resistant
- Prepares pieces for glazing
- Enhances strength and functionality
- Creates finished ceramic art
Proper firing allows pottery to survive everyday use while maintaining its beauty and structure.
Stage 1: Greenware
Before pottery enters the kiln, it is known as greenware. Greenware refers to unfired clay that has been shaped and allowed to dry completely.
At this stage, the clay is extremely fragile. Even small bumps or pressure can break delicate pieces. Pottery must be completely dry before firing because trapped moisture can turn into steam inside the kiln and cause cracking or explosions.
Many ceramic artists allow their work to dry slowly for several days or even weeks depending on the size and thickness of the piece.
Stage 2: The Bisque Firing
The first kiln firing is called the bisque firing. This firing transforms dry greenware into bisque ware, which is stronger and easier to handle.
During bisque firing:
- Remaining moisture is removed
- Organic materials burn away
- Clay particles begin bonding together
- The pottery becomes hard but remains porous
The porous nature of bisque ware allows it to absorb glaze effectively during the next stage.
Typical Bisque Firing Temperatures
Most bisque firings occur between approximately 1,650°F and 1,950°F (900°C to 1,065°C), depending on the clay body and studio practices.
After the bisque firing, pottery is significantly stronger than greenware but still not fully finished.
Stage 3: Glazing the Pottery
After bisque firing, artists apply glaze to their pottery. Glaze is a special coating that melts during firing to create a glass-like surface.
Glaze serves both decorative and practical purposes. It can:
- Add color
- Create glossy or matte finishes
- Improve durability
- Make pottery waterproof
- Create unique artistic effects
Many ceramic artists consider glazing one of the most creative stages of pottery making.
Stage 4: Glaze Firing
Once glazing is complete, the pottery returns to the kiln for a second firing known as the glaze firing.
During this firing:
- Glazes melt and fuse to the clay surface
- Colors develop fully
- The ceramic body becomes stronger
- The final surface finish is created
The glaze firing temperature depends on the clay and glaze being used. Different temperatures create different visual and structural results.
Understanding Kilns
A kiln is a specialized oven designed to reach temperatures far beyond those used in normal cooking appliances. Pottery kilns allow artists to carefully control heating and cooling cycles.
The most common kiln types include:
Electric Kilns
Electric kilns are widely used in schools, studios, and home pottery workshops. They are popular because they are relatively easy to operate and provide consistent firing results.
Gas Kilns
Gas kilns use propane or natural gas. Many ceramic artists enjoy the atmospheric effects produced by gas firing, which can create unique colors and surface variations.
Wood-Fired Kilns
Wood-fired kilns represent one of the oldest pottery firing traditions. Ash from the burning wood can create natural glaze effects and distinctive surface textures.
Raku Kilns
Raku firing involves removing pottery from the kiln while it is still glowing hot and placing it into combustible materials. This technique produces dramatic crackle patterns and unique finishes.
Low-Fire, Mid-Fire, and High-Fire Pottery
Different pottery clay bodies require different firing temperatures.
Low-Fire Pottery
- Usually earthenware clay
- Lower firing temperatures
- Bright glaze colors
- Popular in schools and beginner pottery programs
Mid-Fire Pottery
- Often stoneware clay
- Excellent durability
- Wide glaze selection
- Common in pottery studios
High-Fire Pottery
- Typically stoneware and porcelain
- Very durable
- Dense ceramic body
- Often used for professional functional pottery
Common Pottery Firing Problems
Even experienced ceramic artists occasionally encounter firing problems. Understanding common issues can help prevent disappointment.
Cracking
Cracks often occur when pottery dries unevenly or contains trapped moisture before firing.
Warping
Uneven wall thickness or improper support during firing can cause pieces to warp.
Glaze Running
Applying glaze too heavily or firing beyond the recommended temperature can cause glaze to run.
Pinholes
Tiny holes in glaze surfaces may result from trapped gases escaping during firing.
Crazing
Fine crack patterns in glaze can occur when the glaze and clay body expand and contract at different rates.
Cooling Is Part of the Process
Many beginners think firing ends when the kiln reaches peak temperature, but cooling is equally important. Pottery should cool slowly inside the kiln.
Opening the kiln too early can cause thermal shock, leading to cracks or breakage. Patience during cooling often results in stronger, more successful pottery.
Safety Tips for Pottery Firing
- Follow kiln manufacturer instructions.
- Use proper ventilation.
- Wear appropriate safety equipment.
- Keep flammable materials away from kilns.
- Never touch hot pottery.
- Allow kilns to cool completely before opening.
Safety should always be a priority when working with high-temperature equipment.
How Firing Supports 3D Art Education
The pottery firing process teaches artists valuable lessons about transformation, materials, chemistry, and design. Students learn how raw materials evolve through controlled heat and careful craftsmanship.
For learners at 3DArtSchool.net, understanding firing deepens appreciation for three-dimensional art and reinforces concepts used in sculpture, product design, manufacturing, engineering, and digital modeling.
The Magic of Opening the Kiln
One of the most rewarding experiences in pottery is opening the kiln after a successful firing. Colors emerge, textures appear, and clay becomes ceramic. Even experienced artists feel excitement and anticipation when seeing finished work for the first time.
Every firing teaches new lessons. Sometimes results are exactly as planned, while other times unexpected effects create exciting artistic discoveries.
Final Thoughts
The pottery firing process is the heart of ceramic art. From fragile greenware to durable finished pottery, firing transforms simple clay into lasting creations. Understanding bisque firing, glaze firing, kiln operation, temperature ranges, and cooling techniques allows artists to create stronger and more beautiful work.
Whether you dream of making functional pottery, decorative ceramics, or sculptural masterpieces, mastering the firing process is an essential step on your creative journey. Every successful piece that emerges from the kiln represents a blend of patience, skill, science, and artistic vision.
Pottery Related Articles
How to Glaze Pottery: Tips for Stunning Colors and Professional Results

Glazing is one of the most exciting stages of pottery. After shaping, drying, and bisque firing your clay piece, glaze brings color, texture, shine, depth, and personality to the finished ceramic artwork. A plain clay bowl can become rich blue, earthy brown, glossy white, speckled green, or a beautiful layered surface full of movement and surprise.
Learning how to glaze pottery takes practice, but beginners can achieve beautiful results by understanding the basics. Whether you are making mugs, bowls, tiles, vases, sculptures, or decorative ceramic art, the right glazing techniques can help your work look polished and professional.
What Is Pottery Glaze?
Pottery glaze is a glass-like coating applied to ceramic pieces before the final firing. During kiln firing, the glaze melts, bonds to the clay surface, and forms a durable finish. Glaze can make pottery colorful, smooth, shiny, matte, textured, waterproof, or food-safe when properly matched and fired.
Glaze is both artistic and functional. It protects the surface of the pottery while adding visual beauty.
Why Glazing Matters in Ceramic Art
Glazing can completely change the mood and appearance of a pottery piece. The same bowl can feel rustic, modern, elegant, playful, or dramatic depending on the glaze color and finish.
For students and artists at 3DArtSchool.net, glazing is an important lesson in surface design. It teaches color theory, texture, contrast, layering, experimentation, and patience. Glazing also helps artists understand how chemistry and creativity work together in ceramic art.
Basic Pottery Glazing Supplies
Before you begin glazing pottery, gather the right supplies. Common pottery glazing tools include:
- Bisque-fired pottery
- Ceramic glaze
- Glaze brushes
- Wax resist
- Sponges
- Tongs
- Clean water
- Mixing sticks
- Glaze containers
- Dust mask for dry glaze materials
- Kiln access for glaze firing
Beginners should use ready-made commercial glazes because they are easier to use and come with firing instructions.
Step 1: Start with Bisque-Fired Pottery
Most pottery is glazed after the first kiln firing, called the bisque firing. Bisque-fired pottery is hard, porous, and ready to absorb glaze.
Before applying glaze, make sure your piece is clean and free from dust. Wipe it gently with a damp sponge and allow it to dry before glazing. Dust or oils on the surface can prevent glaze from sticking properly.
Step 2: Choose the Right Glaze
Not all glazes work with every clay body or firing temperature. Choose a glaze that matches your clay and kiln firing range.
Important glaze details include:
- Firing temperature
- Clay compatibility
- Color after firing
- Food-safe rating
- Glossy, matte, satin, or textured finish
- Application instructions
If you are glazing mugs, bowls, or plates, choose a glaze labeled food-safe after firing.
Step 3: Mix the Glaze Thoroughly
Glaze ingredients can settle at the bottom of the container. Before applying glaze, stir it thoroughly until it has an even consistency. If the glaze is too thick or too thin, the final result may be uneven.
A well-mixed glaze helps create smoother color and better coverage.
Step 4: Apply Wax Resist to the Bottom
Glaze should not be placed on the bottom of pottery where it touches the kiln shelf. During firing, glaze melts and can stick the piece to the kiln shelf.
Apply wax resist to the foot ring or bottom surface to prevent glaze from sticking there. After glazing, wipe any remaining glaze off the bottom before firing.
Step 5: Choose a Glazing Method
There are several popular pottery glazing techniques. Each creates a different look.
Brushing Glaze
Brushing is one of the easiest glazing methods for beginners. Use a soft brush to apply several even coats of glaze. Allow each coat to dry before adding the next.
Dipping Glaze
Dipping involves lowering the pottery piece into a container of glaze. This creates fast, even coverage and is commonly used in pottery studios.
Pouring Glaze
Pouring glaze is useful for covering the inside of bowls, mugs, and vases. The glaze is poured in, swirled around, and poured out.
Spraying Glaze
Spraying creates soft gradients and layered effects, but it requires special equipment and proper ventilation.
Layering Glazes
Layering two or more glazes can create beautiful color effects, but beginners should test combinations first because some glazes run or react unpredictably.
Step 6: Avoid Applying Glaze Too Thick
One of the most common beginner pottery glazing mistakes is applying too much glaze. Thick glaze may run during firing, drip onto the kiln shelf, or create uneven surfaces.
Follow the glaze manufacturer’s instructions. Many brush-on glazes work best with two or three coats, but each glaze is different.
Step 7: Clean the Bottom Before Firing
Before your pottery goes into the kiln, carefully clean the bottom. Use a damp sponge to remove glaze from the foot ring and any area that touches the kiln shelf.
This simple step helps prevent costly kiln damage and keeps your pottery from sticking during firing.
Step 8: Fire at the Correct Temperature
Glaze must be fired to the correct temperature in a kiln. If it is underfired, the glaze may look dull, rough, or unfinished. If it is overfired, the glaze may run, bubble, or change color unexpectedly.
Always match the glaze, clay body, and kiln firing temperature.
Popular Pottery Glaze Finishes
Pottery glazes come in many finishes. Some of the most popular include:
- Glossy glaze: Shiny and reflective
- Matte glaze: Soft, smooth, and non-shiny
- Satin glaze: Slightly shiny with a soft finish
- Speckled glaze: Includes small color variations
- Transparent glaze: Shows clay or underglaze beneath
- Textured glaze: Creates surface movement and depth
Common Pottery Glazing Mistakes
Beginners often make small mistakes when learning how to glaze pottery. The most common include:
- Not cleaning bisque pottery before glazing
- Using glaze that does not match the clay or firing temperature
- Applying glaze too thick
- Forgetting to clean the bottom of the piece
- Not stirring glaze properly
- Layering untested glazes
- Expecting the wet glaze color to match the fired color
Glaze often looks very different before firing. A pale or dull-looking glaze may become bright and glossy after kiln firing.
Glazing Tips for Professional Results
For better pottery glazing results, test your glazes before using them on important pieces. Make small test tiles using the same clay body as your pottery. Label each test tile with the glaze name, number of coats, and firing temperature.
Keep notes in a pottery journal. Record what worked, what failed, and what you want to try next. This helps you develop consistent results and your own personal glaze style.
Food-Safe Pottery Glazing
If your pottery will be used for food or drinks, safety matters. Use glazes labeled food-safe after proper firing. Avoid unknown glaze combinations on surfaces that touch food. Make sure the glaze is mature, smooth, and free from cracks or sharp textures.
Decorative glazes can be beautiful, but not all are appropriate for functional pottery.
How Glazing Connects to 3D Art
Glazing is more than color. It is surface design for three-dimensional objects. Artists must think about how glaze flows over curves, edges, textures, handles, rims, and carved areas.
This is valuable for students studying pottery, sculpture, product design, digital modeling, and 3D art. A strong surface finish can make a simple form feel more complete, expressive, and professional.
Final Thoughts
Learning how to glaze pottery is a creative journey filled with color, experimentation, and surprise. By choosing the right glaze, preparing your bisque pottery, applying even coats, cleaning the bottom, and firing at the correct temperature, you can create ceramic pieces with beautiful and professional results.
Start simple, test often, and keep notes. Over time, glazing will become one of the most exciting parts of your pottery process.
Whether you want bold colors, earthy textures, soft matte surfaces, or glossy finishes, pottery glazing gives your ceramic art its final voice.
Pottery Related Articles